Table of Contents
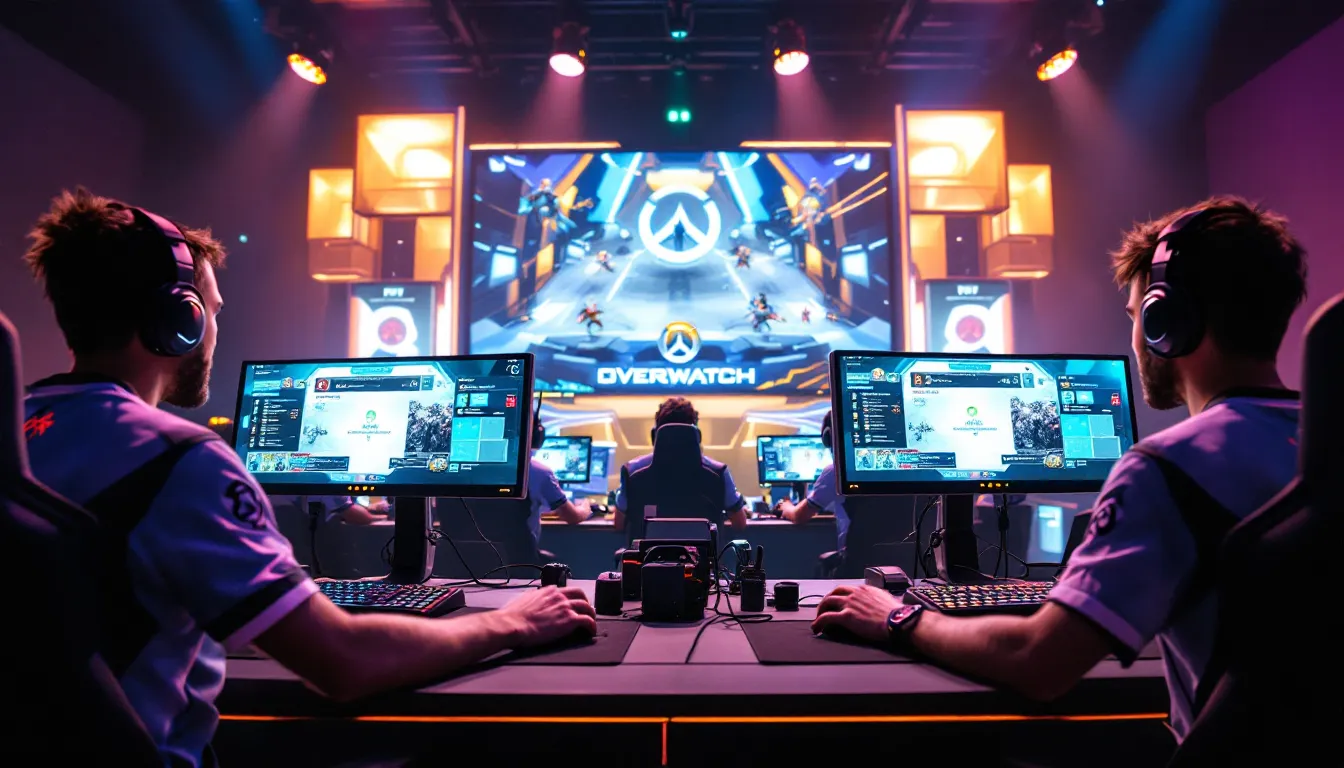
ToggleSamoa has quietly become one of Overwatch’s most impactful support heroes, and if you’re not playing around this hero’s strengths, you’re leaving wins on the table. Since her introduction, Samoa has carved out a niche that makes her invaluable in coordinated play, whether you’re grinding ranked or watching professional teams dissect defensive setups. This guide breaks down everything you need to know about piloting Samoa effectively, from her core mechanics to advanced positioning strategies that separate casual players from those climbing to top 500. Whether you’re new to support or a veteran looking to add another hero to your roster, understanding Samoa’s kit and how to maximize her utility will fundamentally change how you approach each match.
Key Takeaways
- Samoa excels as a main healer in Overwatch through positioning intelligence and proactive healing rather than reactive burst protection, rewarding players who anticipate damage patterns before they occur.
- Master Samoa’s core mechanics including her 75 HP/second healing beam, defensive projectiles with travel time, movement speed passive, and ultimate Bastion Protocol to maximize her utility across ranked and professional play.
- Positioning discipline is essential for Samoa survival—maintain sightlines to teammates, claim high ground when possible, and never get cornered without multiple escape routes available.
- Track ultimate economy ruthlessly by monitoring your charge, enemy cooldowns, and advantage windows; use Bastion Protocol during crucial team fight moments when your team takes heavy damage, not when they’re already safe.
- Avoid common Samoa mistakes including standing still while healing, playing too far from your team, wasting defensive projectiles on spam damage, and overextending to chase eliminations instead of supporting your team’s game plan.
Who Is Samoa in Overwatch?
Background and Role Overview
Samoa is a support hero built around healing and defensive capability. Unlike Mercy’s pure mobility or Lúcio’s area-of-effect speed boosts, Samoa brings a toolkit designed for heroes who need sustained, predictable healing and tactical protection. She fills the main healer role in most compositions, meaning your team counts on you to keep them alive through the chaos.
In the current meta (as of patch 2026.1), Samoa sees regular play in both ladder and professional settings. Her kit rewards positioning intelligence and team awareness, mistakes get punished hard, but smart play feels incredibly rewarding.
Abilities and Playstyle
Samoa excels in scenarios where your team holds a defensible position or needs to execute controlled engagements. Her playstyle centers on proactive healing (before damage happens rather than reactive healing after) and using her defensive tools to deny enemy pressure.
Unlike aggressive supports that jump into fights, Samoa prefers playing slightly behind her team, maintaining sightlines and managing resources. This doesn’t mean passive, you’re constantly making decisions about who gets healed, when to use defensive abilities, and how to position for team fights. The best Samoa players anticipate damage patterns instead of reacting to them, which is why learning her takes time but pays off immediately.
Samoa’s Core Abilities Explained
Primary Fire and Weapon Mechanics
Samoa’s primary fire is a hitscan beam that heals teammates continuously while you hold the button. The beam connects instantly with no travel time, making her healing reliable and predictable, your team knows exactly when they’re getting healed.
The healing beam output sits at 75 HP/second, which is solid but not overwhelming. This means you can’t solo-heal a Reinhardt taking fire from a full enemy team, but you can comfortably keep 2-3 teammates healthy while they make plays.
Secondary fire switches to defensive projectiles that you can throw to create temporary shields or block incoming damage. These projectiles have travel time and require prediction, especially against moving targets. Landing them consistently takes practice, but the payoff is massive, a well-timed projectile can save a teammate from elimination.
Passive Ability and Movement
Samoa’s passive ability grants her a movement speed boost when she hasn’t taken damage for 2 seconds. This might sound minor, but it’s genuinely game-changing. Getting to advantageous positions faster than enemies expect means you set engagements before they begin. Smart Samoa players use this to rotate aggressively between cover points, especially on maps with multiple sight-lines.
Her base movement speed is standard for a support hero, but with the passive active, she can reposition nearly as fast as some tanks rotate. This is why safety and spacing matter so much, you’re not tanky, but you’re not stuck in place either.
Ultimate Ability and Strategic Impact
Samoa’s ultimate ability, Bastion Protocol, transforms her into a temporary bastion of protection. For the next 6 seconds, she gains temporary invulnerability shields and her healing output increases by 50%. During this window, teammates standing near her also receive damage reduction.
The strategic depth here is immense. You’re not just using Bastion Protocol to save yourself, you’re using it to enable crucial engagements. Imagine your Reinhardt needs to push the enemy choke: pop your ultimate, and suddenly he’s effectively twice as tanky. It’s the difference between a successful team fight and a quick wipe.
Ultimate economy (managing when you build and use your ult) is massive for Samoa players. Wasting this ability on spam damage gets you eliminated. Saving it for when your team actually needs it wins rounds.
Essential Tips for Playing Samoa Effectively
Positioning and Map Awareness
Positioning is where Samoa separates casuals from climbers. You need sightlines to your teammates, if you can’t see them, you can’t heal them. This means you’re not hiding: you’re positioned where you can observe the engagement and react.
Find elevated or off-angle positions whenever possible. High ground gives you escape routes and makes you harder to duel. On maps like Ilios, claim the high platforms early. On King’s Row, the balconies and rooftops become your natural spots. On defensive holds, position behind natural cover but where you maintain escape routes.
The golden rule: never get cornered. Your survival depends on having two or three directions you can flee if focused. If you find yourself in a 1v1 against a flanker with your teammates across the map, you’ve positioned poorly. Fix this before it happens.
Team Coordination and Support Priorities
Samoa’s healing is finite, you can’t heal everyone at once. Prioritize your most essential players: whoever is doing the most work, whoever is lowest on health, or whoever is most vulnerable to elimination.
Communicate with your team about positioning. Let your tank know where you’re set up so they can protect you. Let your DPS know when you need them to create space or when you’re vulnerable. Overwatch is a team game, and Samoa’s impact multiplies when everyone understands where you are and what you’re trying to do.
During ultimate fights, make sure your team knows you have it. A callout like “Bastion ready, we can win this fight” makes your team play differently, they get aggressive because they know protection is coming. Conversely, if you’re about to lose your ultimate because the enemy has it soon, group up defensively and play for ult charge.
Ability Management and Cooldown Usage
Your defensive projectiles are your only tool against burst damage before you ult. Use them sparingly and purposefully. Throwing projectiles randomly for poke damage is a waste, they’re for saving teammates or blocking crucial damage.
If a Widowmaker lands a shot on your tank, you can’t undo that with a projectile. But if you see a Soldier: 76 ulting and your teammate is in the open, throw a projectile to negate one or two shots. That’s the correct usage.
Manage your positioning so you minimize the need to use defensive abilities. Good spacing and cover usage means fewer emergencies. When you’re positioned correctly, your projectiles become clutch saves rather than your primary tool.
Samoa’s Matchups: Counters and Synergies
Heroes That Threaten Samoa
Tracer is your hardest counter. Her mobility and close-range damage output means you die before you can react. Against Tracer, play closer to your team and use your movement speed to kite toward teammates who can protect you. If she dives you solo, throw a projectile immediately to buy time.
Widowmaker threatens you from range. Her high damage per shot means one mistake costs you your life. Play behind cover and minimize sightline time. Use the movement speed passive to rotate aggressively between cover points rather than standing still.
Sombra is tricky because she denies you agency with hacks. When Sombra is in the game, position where teammates can shield you or help pressure her. Your defensive projectiles become more valuable for blocking her shots during hack attempts.
Genji and other mobile dive heroes require similar counterplay: group up, use projectiles defensively, and position where escape routes exist. Solo Samoa versus coordinated dive is almost unwinnable, but with team support, you can mitigate the threat.
Teammates That Amplify Samoa’s Effectiveness
Reinhardt and Samoa are classic partners. His shield provides cover for you while you heal him, and his presence creates the grouped-up formations where your healing shines. Your ultimate makes his aggressive plays viable.
Bastion (the hero) benefits massively from your healing because he locks into position and can’t heal himself while shooting. Healing a Bastion dealing damage into the enemy team is incredibly efficient healing, you’re protecting burst damage output.
Symmetra works excellently with Samoa because her teleporter gives you an emergency escape and her shields provide extra durability for your team. You can both hold high-value positions and protect the gateway.
Junkrat is underrated with Samoa. His area damage wears down enemy shields while your healing keeps him alive through return fire. You become a dominant duo in enclosed spaces like tight corridors or small arena modes.
Advanced Samoa Strategies for Ranked Play
Economy and Resource Management
Resource management in Samoa’s kit means tracking your ultimate charge, ability cooldowns, and positioning. Every decision impacts whether you’re ready for the next team fight.
If your ultimate is 50% charged and you’re pushing into an engagement, you’re weak. The enemy team knows it, too, smart opponents will use this window to apply pressure. Conversely, if your ultimate is full and the enemy support is out of position, initiate immediately. Those 6-second windows where you have ultimate and they don’t are your free wins.
Track enemy ultimate charge too. If the enemy support just used their defensive ability and your team has ult advantage, that’s the moment to commit resources and win the fight. Overwatch matches are won through advantage stacking, identifying when you have multiple advantages (ult advantage + positioning advantage + resource availability) and exploiting them ruthlessly.
Defensive and Offensive Rotations
On defense, your rotation timing determines whether you hold points or get overwhelmed. Standard defensive Samoa setup involves holding ground near the objective while maintaining escape routes. When enemy pressure mounts, rotate to secondary positions rather than dying for meters.
Offensive rotations are more aggressive. You’re pushing toward enemy positions, maintaining just-enough distance to heal aggressively while staying out of immediate danger. The key is rotating with your strongest players, if your Reinhardt is pushing forward, you push with him, not alone.
Reading enemy team positioning helps massively. If the enemy scattered and you can’t see them, consolidate with your team and wait for clarity. Pushing forward blind gets you picked off. Patience beats aggression when information is missing.
Ultimate Economy and Timing
Your ultimate is your team’s defensive reset. Use it when your team takes major damage during a fight, not when everyone’s healthy. That sounds obvious, but many Samoa players waste ultimates on preventative shields when their team just needs survival tools.
Ideal usage: your team engages, takes heavy fire, and before they get eliminated, you pop Bastion Protocol. Now the enemy team invested resources (health pools, cooldowns) into burst damage while your team survives and resets. This swing moment wins team fights.
Never use your ultimate predictably. If you use it at exactly the same time every match, enemies learn to bait it out with threatening damage and then commit real resources after it expires. Mix up timing, sometimes early, sometimes late, sometimes not at all in certain fights. Unpredictability keeps opponents guessing.
Common Samoa Mistakes and How to Avoid Them
Positioning Errors and Safety
The most common Samoa mistake: standing still while healing. You become a predictable target, and flankers delete you instantly. Never stay in the same spot for more than 2-3 seconds. Constant micro-rotations (small position adjustments) keep you alive and safe.
Second major error: playing too far back. Yes, you’re not a tank, but being 30 meters away from your team means you’re too far to heal effectively and too far to use projectiles defensively. Find the sweet spot, close enough that your beam reaches, far enough that you have escape options.
Third: staying in enemy sightlines unnecessarily. Just because you can see them doesn’t mean you need to. Breaking line of sight regularly means enemies can’t pressure you on cooldown.
Players climbing through ranks at ProSettings recognize that positioning discipline is what separates ranks. Masters-level Samoa players look weird to lower-rank players because they’re constantly moving, angle-peeking, and seemingly doing nothing, except they’re alive and healing efficiently.
Utility Waste and Poor Decision-Making
Wasting projectiles on spam damage is throwing resources. Save them for crucial moments: blocking burst damage, saving teammates from elimination, or denying enemy pushes.
Another mistake: ulting when teammates are already safe. This happens when you panic, you see pressure and instantly press Q without assessing whether your team actually needs protection. Learn to read the flow of fights and use your ultimate when it creates value.
Poor ultimate timing also includes using it when your team is already winning easily. That’s wasteful and leaves you defenseless when the real team fight happens. Sometimes the correct play is holding your ultimate for the next engagement.
Finally, don’t chase eliminations or plays. Your job is supporting your team’s game plan, not creating solo highlight moments. The Samoa who gets an elimination by throwing a projectile at a fleeing enemy often dies seconds later because they overextended. Let your DPS chase kills: you focus on keeping them alive to get those kills.
Samoa Build Recommendations and Settings
Sensitivity and Control Settings
Samoa benefits from lower sensitivity compared to DPS heroes. Your beam doesn’t require flick-shots, so precise tracking is more important than speed. Most pro Samoa players run sensitivities between 3.0-4.5 on 800 DPI, depending on their overall preference.
Finding your sensitivity takes time. Start at 3.5 on 800 DPI and practice aim in deathmatch for 30 minutes. If you’re overshooting targets, lower sensitivity. If you’re struggling to track moving enemies, increase slightly. The goal is smooth, controlled tracking that feels natural.
Mouse acceleration should be off, you want predictable cursor movement. Raw input should be enabled to minimize input lag. These small settings give you milliseconds of advantage, which matters in critical moments.
Players using The Loadout as a reference find that monitor setup matters too. A 144Hz+ monitor gives you smoother visuals compared to 60Hz. It’s not mandatory, but it helps significantly with tracking and reaction time.
Keybind Optimization for Support
Your abilities need to be accessible without looking at your keyboard. Standard Samoa binds:
- Left Click: Heal beam
- Right Click: Defensive projectile
- E: Movement ability (your passive doesn’t require binding, but other abilities might)
- Q: Ultimate (Bastion Protocol)
Some players rebind abilities for faster access. For example, binding projectile to C instead of right-click feels faster because your finger is already near movement keys. Others prefer spacebar or mouse button 4 for frequently-used defensive abilities.
The critical thing: never use default binds if they feel awkward. Most pro players customize extensively. Spend 10 minutes in practice range trying different binds and see what feels natural. Your muscle memory matters more than following someone else’s exact setup.
Esports coverage at Dot Esports regularly features pro player settings, and you’ll notice that while sensitivity and sensitivity vary, one constant is custom keybinds that match individual preference. Don’t copy pro binds directly, use them as inspiration for finding your optimal setup.
Conclusion
Samoa rewards intelligent play more than mechanical skill. Master her positioning, understand ultimate economy, and manage your resources disciplined, and you’ll climb consistently. She’s not flashy, you won’t get potg highlights for saving teammates with clever projectiles, but your team will notice the difference immediately.
The path to mastery is straightforward: play her in ranked, focus on staying alive, and learn from deaths. Every time you die, ask yourself: “Was my positioning wrong? Did I waste utility? Did I miss a team fight?”
Start climbing with Samoa today. The support role needs players who understand the hero’s depth, and once you do, you become invaluable to your team.