Table of Contents
ToggleSound wins fights. While most players obsess over aim and positioning, the ones climbing the competitive ladder understand that audio awareness separates average players from ranked grinders. An Overwatch soundboard isn’t just a novelty tool for streamers, it’s a fundamental layer of game sense that directly impacts your ability to react, coordinate with teammates, and predict enemy movements. Whether you’re chasing SR or streaming to an audience, understanding how audio cues work and how to leverage soundboards transforms the way you experience Overwatch. This guide breaks down everything from recognizing critical ability sounds to setting up professional-grade soundboards for content creation, plus the hardware and settings tweaks that give you an actual competitive edge.
Key Takeaways
- An Overwatch soundboard transforms audio awareness into a competitive advantage by isolating critical ability sounds, ultimate charge indicators, and objective cues that separate top-ranked players from average competitors.
- Learning to recognize enemy ability sounds—like Widowmaker’s hook, Ana’s sleep dart, and D.Va’s self-destruct warning—compresses hundreds of hours of passive learning into focused, deliberate training that accelerates game sense.
- Streamers can integrate soundboards into OBS with hotkey triggering and proper audio mixing (60-70% game audio, 20-25% microphone, 10-15% soundboard effects) to enhance production quality without overwhelming viewers.
- Optimizing native Overwatch audio settings—enabling dialogue subtitles, setting effects volume to 100%, and matching surround sound format to your headset—creates the foundation for effective soundboard training.
- Structured soundboard training over four weeks, starting with single-sound isolation and progressing to chaotic mixing and reaction testing, enables competitive players to achieve 85%+ recognition accuracy at under 300ms reaction times.
- Quality headsets with open soundstage design ($150-$300 range) and spatial audio awareness let players localize enemy positions by sound alone, enabling sub-500ms rotations based purely on audio cues.
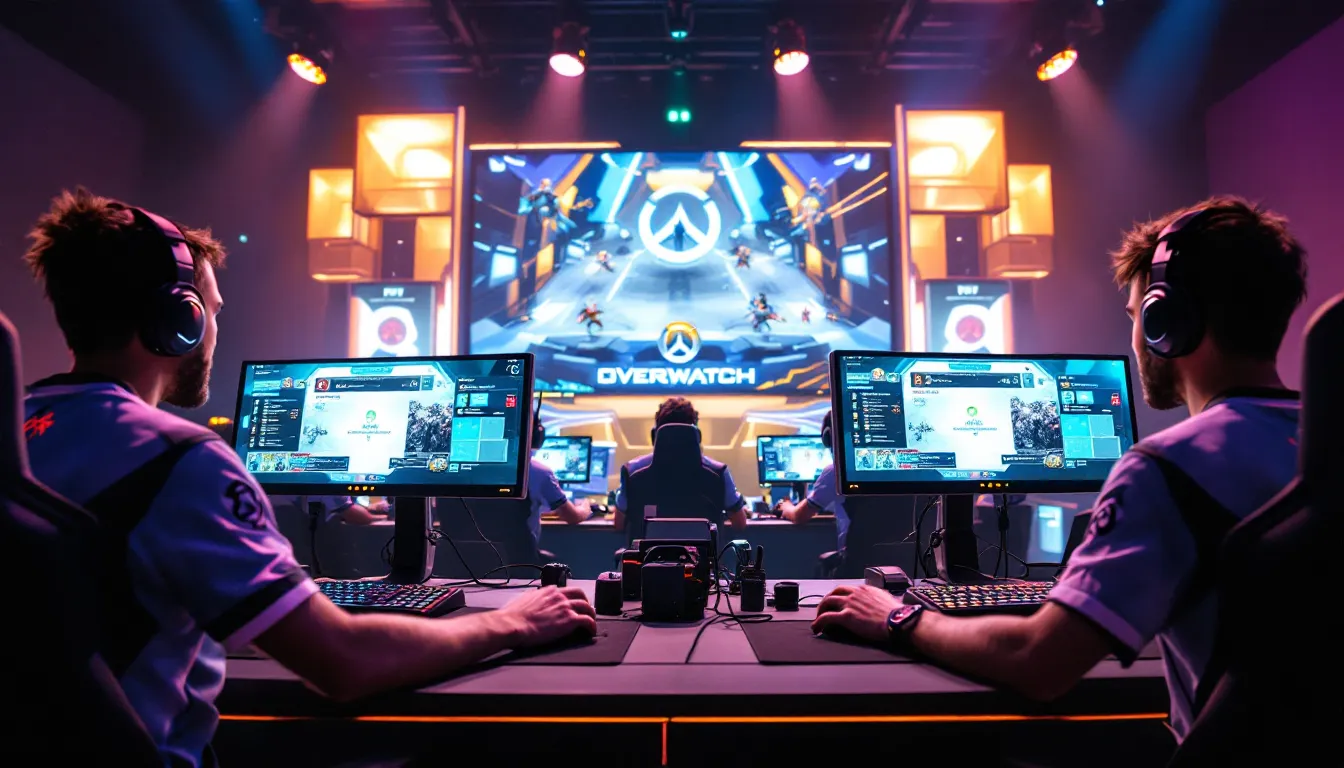
What Is An Overwatch Soundboard?
An Overwatch soundboard is a collection of organized audio clips, ability sounds, ultimate charge indicators, objective alerts, and more, designed to help players, streamers, and content creators quickly identify, learn, and reference in-game audio cues. Think of it as a library of every critical sound Overwatch produces, catalogued and labeled for easy access.
For competitive players, a soundboard serves as a training tool. You can isolate specific ability sounds (like Widowmaker’s hook sound or Ana’s sleep dart) and practice recognizing them under pressure. Streamers use soundboards to add callouts, soundscapes, or reaction sounds that enhance audience engagement, essentially turning raw gameplay into broadcast-quality content.
There are two main types: passive soundboards (reference libraries you study offline) and active soundboards integrated into streaming software like OBS, where creators trigger sound effects live during broadcasts. Both require familiarity with the base Overwatch audio library to be effective.
Why Sound Design Matters In Overwatch
Competitive Advantage Through Audio Awareness
Overwatch’s sound design is intentional and detailed. Every ability, ultimate charge, respawn, and objective state has a distinct audio signature. Players who develop acute audio awareness gain milliseconds of reaction time, and in a game where Time-To-Kill (TTK) on high-priority targets can be under two seconds, milliseconds matter.
Consider Zenyatta’s ultimate charge sound: a rising ethereal tone that builds as he approaches 100% ultimate charge. A teammate hearing this knows to push or coordinate an engage. Miss that audio cue, and you might miss a crucial moment. The same applies to enemies: hearing Reaper teleport behind your team triggers an immediate defensive rotation that silence would miss.
High-level players internalize these sounds without conscious effort. Their brains process Tracer’s rewind sound, D.Va’s defense matrix activation, or Lúcio’s sound barrier drop as instant information triggers. Training with a soundboard accelerates this internalization, effectively compressing hundreds of hours of passive learning into focused practice.
Communication And Team Coordination
In team play, audio cues create a shared language. When Mercy’s damage boost beam locks onto a teammate, both the Mercy player and nearby teammates hear a distinct sound. That audio tells the team: “This target is amped and dangerous right now.”
For content creators and streamers, a soundboard becomes a communication multiplier. Adding quick callout sounds, “Enemy flanking.” or “Ulting now.”, reinforces team callouts and makes gameplay more dramatic for viewers. Tournament-level teams even use shared audio cue systems to standardize callouts across scrims and matches.
Beyond gameplay, soundboards reduce communication friction. Instead of typing or voice overlapping, a streamer can trigger a sound effect that instantly conveys status (“We’re holding point”) or trigger-happy moments (“Got them.”). It’s organization through audio.
Essential Sound Cues Every Player Should Know
Enemy Ability Sounds And Detection
Every enemy ability produces a unique audio cue, and learning these is non-negotiable for competitive play. Here are the critical ones:
Tank Abilities:
- Reinhardt’s charge produces a charging roar. Hearing this means reposition immediately, he’s charging your location.
- D.Va’s ultimate (Self-Destruct) emits a warning beep that escalates in urgency. You have roughly 4 seconds to find cover after the first beep.
- Sigma’s Gravitic Flux makes a sci-fi whooshing sound before pulling enemies down. Position awareness is crucial.
Damage Abilities:
- Widowmaker’s hook produces a sharp grapple sound. Hearing it means check your sightlines, she’s repositioning to a high-ground angle.
- Tracer’s rewind creates a distinctive rewinding audio cue. If you hear it during a 1v1, she just undid damage or positioning, adjust your engagement.
- Hanzo’s Sonic Arrow makes a whistling sound on deployment. You’re being scanned, position behind cover.
Support Abilities:
- Ana’s sleep dart produces a quick dart sound before the sleep effect. If you hear it, you’re likely the target, don’t stand still.
- Lúcio’s Sound Barrier makes an explosive boom sound. This means a teammate just became tanky, adjust burst targets.
- Mercy’s resurrection has a distinctive resurrection chime. Hearing this as an enemy tells you a teammate just came back, focus-fire the new target immediately.
Learning to isolate these sounds in chaotic teamfights is the difference between reacting and dying.
Ultimate Charge And Activation Indicators
Ultimate charge audio is your early warning system. Most heroes produce a distinct sound when reaching 100% ultimate charge, giving teammates a heads-up to coordinate engages.
Key ultimate sounds:
- Zenyatta’s Transcendence has a rising spiritual hum. When you hear this charging up, plan engages around Zenyatta’s presence.
- Soldier: 76’s Tactical Visor produces a focused computer lock-on beep at 100% charge. Hearing this means an area denial ultimate is ready.
- Reinhardt’s Earthshatter emits a low rumble at full charge. Expect crowd control, position with cover accessible.
- Tracer’s Pulse Bomb creates a pulsing beep sound. This is a high-stakes moment, spread out.
When ultimates activate, the audio is even more pronounced. Genji’s Dragonblade produces a cutting sound. Pharah’s Barrage makes a rocket launch sound. Widowmaker’s Infra-Sight creates a scanning effect sound. These aren’t subtle, they’re designed to be unmistakable and warrant immediate defensive action.
Competitive teams use ultimate tracking boards, but audio awareness provides real-time confirmation. If you hear McCree’s high-noon countdown, you know he’s ulting, and you have seconds to find cover or interrupt.
Objective And Game State Audio Signals
Overwatch provides audio cues for objective progress, respawn timers, and match states. These are often overlooked but critically important.
Objective sounds:
- Point capture produces a rapid beeping sound that intensifies as teams progress capture percentage. Hearing slower beeps means the enemy is barely touching point: faster beeps mean they’re close to securing it.
- Payload progress has a distinct rolling/moving sound when being pushed. Silence means no one is pushing, check your positions.
- Victory/Defeat sounds are unmistakable, but the approach to victory produces audio. Hearing the point almost captured means you need an immediate rotation or defend/stall decisions.
Match state sounds:
- Respawn timers produce audio countdowns. Hearing “1… 2… 3…” gives you a sense of when teammates will return.
- Team fights ending often produce a brief audio fade that signals regrouping time.
Understanding these sounds prevents tunnel vision. A player locked on one target might miss that the payload is being pushed uncontested, until the audio cue forces awareness.
Popular Overwatch Soundboard Tools And Resources
Community-Built Soundboards And Applications
The Overwatch community has built several accessible soundboard tools. Some are simple websites: others are full applications with search and categorization.
Web-Based Soundboards:
These are free, browser-accessible databases of Overwatch sounds. You can search by hero, ability type, or effect. No installation needed. Sites like Overwatch Fandom wikis often embed audio clips for each ability, making them unofficial but functional soundboards. The advantage? Lightweight and always available.
Standalone Applications:
More serious players use dedicated soundboard apps. These often include features like:
- Hotkey triggering (press a key to play a specific sound)
- Custom organization (create folders for enemy ultis, teammate abilities, etc.)
- Volume normalization (so quiet sounds don’t startle you)
- Looping capabilities (practice recognition with repeated sounds)
Popular options include SoundBoard by N-Sound and Voicemod, which integrate soundboards with streaming and voice-changing tools. These range from free to subscription-based depending on features.
OBS Studio Integration:
For streamers, integrating soundboards directly into OBS is the pro-level move. Plugins like OBS Source Sounds and Source Dynamics let creators trigger Overwatch audio cues during broadcasts, adding production value and clarity to viewer experience. This is especially useful for educational streams where you’re breaking down sound design.
Customization Options For Audio Preferences
Not every soundboard setup works for every player. Customization is essential.
Audio Filtering:
Many soundboards let you isolate specific audio types:
- Enemy ability sounds only (mute teammate callouts)
- Ultimate charge indicators only
- Objective sounds only
This customization is crucial for training. If you want to practice Widowmaker hook recognition, you can isolate just that sound and remove distractions.
Volume Normalization:
Overwatch audio ranges from subtle (Mercy’s beam connecting) to explosive (D.Va’s self-destruct). A good soundboard app lets you normalize volumes so no single sound dominates. This prevents jump-scares and keeps your eardrums intact during long practice sessions.
Categorization:
Organize sounds by:
- Hero (all Widowmaker sounds in one folder)
- Type (all ultimates, all crowd control, etc.)
- Threat level (red sounds for dangerous abilities, green for support abilities)
This organizational layer accelerates training. Instead of scrolling through hundreds of sounds, you navigate to “Widowmaker” → “Abilities” → “Hook Sound” in seconds.
Speed and Frequency Control:
Advanced users slow down soundboards to half speed, making fast ability sounds more recognizable. Repeating a sound 10 times in a row trains muscle memory better than hearing it once.
Customization transforms a soundboard from a passive reference tool into an active training instrument.
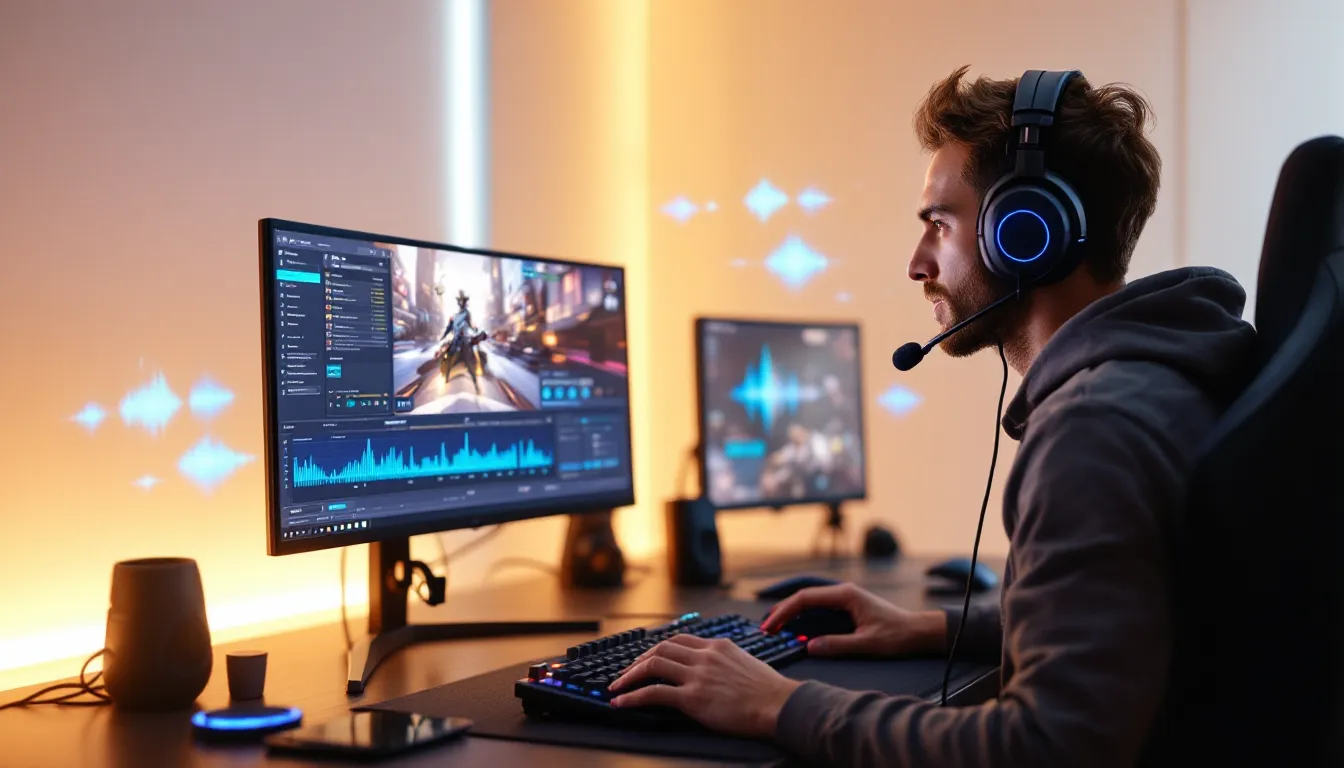
How To Set Up A Soundboard For Streaming And Content Creation
Integration With OBS And Streaming Platforms
Streamers turn soundboards into content enhancers. The key is seamless integration without overwhelming audio.
OBS Studio Setup:
Start by adding your soundboard application as a new audio source in OBS. Here’s the practical workflow:
- Open OBS → Select your streaming scene
- Add Source → Choose “Audio Input Capture” or “Application Audio Capture” (depending on your soundboard app)
- Select your soundboard from the device list
- Set audio levels (more on this below)
- Hotkey assignment: Most soundboards let you assign keyboard shortcuts (like F1, F2, F3) to trigger sounds without breaking gameplay
That last step is crucial. As a streamer, you can press F1 to trigger a “Ultimate ready.” sound effect while maintaining gameplay focus. Viewers hear it: teammates don’t get distracted.
Platform-Specific Considerations:
- Twitch/YouTube: Standard OBS integration works. Your audio mix lane captures all sounds, ensure the soundboard’s volume doesn’t drown out game audio or voice comms.
- Discord Streaming: Some soundboards integrate directly with Discord bots, triggering sounds in voice channels. This is useful for team environments where everyone wants shared audio cues.
The golden rule: never let soundboard effects consume 50% of your audio bandwidth. Viewers want to hear gameplay and callouts first: sound effects second.
Audio Mixing And Balancing Tips
Mixing is where most streamers fail. A clip-distorted soundboard sound will tank your audio quality and audience retention.
Level Balancing:
- Game audio: 60-70% of total volume
- Microphone (if streaming): 20-25%
- Soundboard effects: 10-15%
This ensures nothing overwhelms the mix. Use your audio mixer in OBS (or Streamlabs OBS) to visualize levels in real-time. Aim for peaks around -6dB to -3dB (leaving headroom prevents distortion).
Compression and Limiting:
Add a compressor to your soundboard audio track in OBS. Set it to:
- Ratio: 4:1
- Threshold: -20dB
- Attack: 5ms
- Release: 50ms
This keeps sudden loud sounds from spiking your mix.
Equalization (EQ):
Soundboard effects often live in the high-mid frequency range (2-4kHz), where they can feel shrill. Apply a subtle high-pass filter to prevent buildup. Alternatively, use a parametric EQ to reduce 3kHz slightly, warming the soundboard sound without losing clarity.
Gating:
If your soundboard application produces background noise or unwanted sounds, add a gate to the audio track. Set it so only intentional triggers (above -40dB) pass through. This silences accidental pops or feedback.
Testing:
Before streaming, record a short test stream clip with soundboard effects triggered. Listen back on different devices (phone, laptop, headphones) to catch issues. Professional streamers do this because “sounds good in my headphones” doesn’t always translate to viewer experience.
In the context of broader gameplay awareness, understanding Overwatch Tournament Strategy: Master these pro-level considerations also applies to how teams coordinate audio cues in competitive settings.
Optimizing Your Game Audio Settings
In-Game Audio Customization Options
Before integrating external soundboards, optimize Overwatch’s native audio settings. Blizzard built significant customization into the game itself.
Audio Options Menu (Available on all platforms):
- Master Volume: Set to 100% (adjust downstream with hardware instead)
- Music Volume: 20-30% (music shouldn’t mask gameplay audio cues)
- Dialogue Volume: 80-100% (team dialogue and hero voice lines carry tactical info)
- Effects Volume: 100% (this is where ability sounds live, critical for soundboard users)
- Ambient Volume: 50-70% (background noise can mask ability cues, but some contextual audio helps)
Advanced Settings:
- Subtitles: Enable “Show Dialogue Subtitles” for accessibility and clarity
- Communication Wheel Audio: Make sure this is enabled so callouts trigger audio feedback
- Ability Audio Feedback: This is relatively new, ensure it’s enabled for enhanced ability sounds
Surround Sound Considerations:
If using surround sound speakers or a surround headset, ensure your audio output format matches:
- Stereo (headphones): Standard 2-channel setup
- 5.1 Surround (speakers/surround headset): Five discrete channels
- 7.1 Surround (high-end setup): Seven channels
Mismatch here causes audio to phase incorrectly, actually degrading directional awareness. Set this in Display Settings → Audio Format.
Platform-Specific Adjustments:
- PC (Windows 10/11): System audio settings matter. Open Settings → Sound → Ensure “Spatial Audio” is enabled if using spatial sound headsets.
- **PS5/Xbox Series X
|
S:** Console audio settings override game settings in some cases. Verify your console’s audio output format matches your headset capability.
- Switch: Audio customization is limited, but ensure your headset is properly recognized in System Settings → Audio.
Many players ignore these settings and wonder why ability sounds feel muffled or directional audio seems off. Proper configuration is the foundation.
Hardware And Headphone Recommendations
Your soundboard is only as good as the hardware reproducing it. Cheap headphones collapse soundstage, making directional cues useless.
Headset Requirements for Competitive Overwatch:
- Frequency response: 20Hz-20kHz (full spectrum: most gaming headsets meet this)
- Impedance: 32-80 ohms (this determines how hard your audio device works: lower is generally more portable)
- Soundstage: Open or semi-open design (closed-back headphones compress audio, making directional cues harder to pinpoint)
- Comfort: 2+ hour wear without fatigue (you’ll be wearing these for long sessions)
Budget Tiers:
$50-$150 (Solid Budget Options):
HyperX Cloud Stinger, SteelSeries Arctis Nova 1. These deliver accurate audio and decent soundstage for the price. Good for ranked grinding.
$150-$300 (Mid-Range Competitive Options):
Audio-Technica AT2020 (with ModMic), Sennheiser Game One, ASTRO A50 (wireless). These have larger soundstages and more accurate audio signature, helping directional awareness.
$300+ (Premium/Esports Level):
Beyerdynamic DT 1990 Pro, Audeze LCD-1, custom IEMs like Ultimate Ears. These are overkill for most players but used by esports pros. The marginal improvement in directional precision is minimal past $200.
For more detailed headset comparisons, RTINGS provides comprehensive headphone testing including soundstage measurements and frequency graphs, crucial data for competitive gamers.
Anti-Recommendation:
Avoid: Excessive bass-heavy “gaming” headsets (Razer Kraken RGB, some Corsair models) marketed on looks rather than audio science. These often have poor soundstage and emphasize bass frequencies that obscure ability sounds in the mid-range where most game audio lives.
Soundcard/DAC Consideration:
If you’re investing in a quality headset, consider a dedicated USB soundcard or DAC (Digital-to-Analog Converter). Devices like FiiO K3 or Sound Blaster X3 improve audio clarity from your PC, especially if your motherboard’s built-in audio is weak. This is an optional upgrade but noticeable if using high-impedance headphones.
Mic Isolation:
If streaming, ensure your headset mic doesn’t pick up game audio bleed. Use a pop filter and position the mic away from your mouth at a 45-degree angle. This prevents viewers from hearing echoing game audio through your microphone.
Testing Your Setup:
Load into a Practice Range match and test:
- Can you hear Widowmaker’s hook sound from across the map?
- Can you distinguish between Tracer’s rewind and Tracer’s shot sound?
- Does Ana’s sleep dart sound have clear directionality?
If yes to all three, your audio setup is competitive-ready. If any are unclear, either your settings or hardware needs adjustment.
Advanced Soundboard Techniques For Competitive Play
Spatial Audio And Directional Sound Awareness
Competitive Overwatch separates players who can localize sounds (identify where they’re coming from) from those who just hear them. Spatial audio is the bridge.
How Spatial Audio Works in Overwatch:
Overwatch uses stereo panning and dynamic audio cues to create directional awareness. When Widowmaker fires from your right, her shot sound pans to the right channel. When Tracer teleports behind you, the audio signature shifts to rear channels (if using surround sound).
Players with quality headsets and proper audio settings can triangulate enemy positions using sound alone. A player hears Mercy’s healing beam sound, recognizes the direction, and rotates toward that sound, knowing an enemy Mercy is actively healing someone nearby.
Training Spatial Audio Recognition:
Use your soundboard to practice this:
- Isolation Training: Loop a single ability sound (e.g., Widowmaker’s hook)
- Directional Variation: If your soundboard supports it, apply panning effects so the sound moves left-right. Close your eyes and point to where the sound originates.
- Real-Game Context: Jump into Deathmatch with soundboard pauses. Mute game audio for 30 seconds, relying only on spatial memory of where enemies fired from.
- Frequency Recognition Under Pressure: Play competitive matches but focus specifically on one ability sound. Can you consistently identify it amid chaos?
This training is similar to how RTINGS tests headphone soundstage, they measure how accurately users can locate sounds in 3D space. Apply that rigor to your training.
Surround Sound vs. Stereo:
Surround sound (5.1 or 7.1) provides more discrete audio channels, making rear-located sounds easier to pinpoint. Stereo headphones compress all directional info into left-right panning, requiring more practiced ear.
For competitive play:
- Stereo (headphones) is fine but requires training
- Surround sound headsets provide marginal advantage for users with matching audio format
Don’t let surround sound marketing oversell the benefit. A trained ear on stereo beats an untrained ear on surround.
Real-World Application:
In a teamfight, a pro player hears Widowmaker’s shot sound originating from the right side, higher frequency range (elevated position). They instantly rotate right-toward-high, checking high ground. This happens in under 500ms, faster than visual processing.
Training Your Ear For Faster Reaction Times
Sound recognition improves with deliberate practice. Here’s a structured training program using your soundboard.
Week 1: Single-Sound Isolation
Day 1-2: Loop just Widowmaker’s hook sound 20 times. Close your eyes. Recognize the moment it triggers. Repeat daily for three days.
Day 3-4: Add Ana’s sleep dart. Loop both sounds randomly (50/50 chance which plays). You now have 150ms to identify which ability and react accordingly.
Day 5-7: Add Tracer’s rewind, Reinhardt’s charge sound, D.Va’s self-destruct warning. You’re now juggling five ability sounds, recognizing each in under 200ms.
Week 2: Speed Integration
Reduce recognition time. Set soundboard to play sounds at 1.5x speed or cut off the first 50ms of each sound (force recognition from partial audio). This mimics real-game chaos where you don’t always hear the full ability sound.
Week 3: Chaotic Mixing
Layer multiple sounds simultaneously (echo, reverb, pitch shifts). Now you’re training to recognize ability sounds amid teamfight cacophony. This is where your soundboard’s audio mixing capabilities shine, add ambient noise, ally sounds, and enemy sounds all at once.
Week 4: Reaction Testing
Set up hotkeys on your soundboard. When a sound triggers, you press a corresponding hotkey. Log accuracy and reaction time. Competitive players aim for 85%+ accuracy at under 300ms reaction time for critical ability sounds.
Advanced Technique: Microlearning
Pro players integrate soundboard training into practice matches. Every death, they pause and reflect: “What audio cue did I miss?” They then load that sound in the soundboard and isolate it for 30 seconds. This micro-training (30 seconds at a time) is surprisingly effective because it’s contextual, you just died to missing this cue, so recognition becomes urgent.
Measuring Progress:
After two weeks of deliberate training, jump into a Deathmatch match. Track:
- How many times did you react to an ability sound before visual confirmation?
- How many audio-based callouts did you make to teammates?
- Did your “sound-first” awareness improve your positioning?
Competitive improvement isn’t just about mechanics, audio awareness compounds with positioning to create game sense that carries across ranks.
For context on how streamers and pro players approach training, studying Overwatch Beginner Tips: Dominate foundations can help, but advanced soundboard training separates casual players from those pushing high ranks.
Conclusion
Mastering an Overwatch soundboard isn’t a gimmick, it’s a systematic way to compress years of audio experience into weeks of deliberate training. From recognizing Widowmaker’s hook to isolating D.Va’s ultimate warning amid chaos, every ability sound is information. Every millisecond of faster recognition translates to better positioning, faster rotations, and smarter target prioritization.
The infrastructure is there: free soundboards, OBS integration, and in-game audio customization options. The hardware is accessible, quality headsets don’t require esports-level spending. What separates top 500 players from gold players often isn’t raw aim: it’s this foundational audio awareness that most never systematize.
Start small. Pick one critical ability sound, maybe Ana’s sleep dart. Load it in a soundboard. Train recognition for a week until you hear it without thinking. Then add another. Within a month, you’ve built an audio library that pro players took thousands of matches to develop naturally.
Your soundboard isn’t replacing game sense. It’s accelerating it. And in a competitive environment where every advantage compounds, that acceleration is worth the effort.